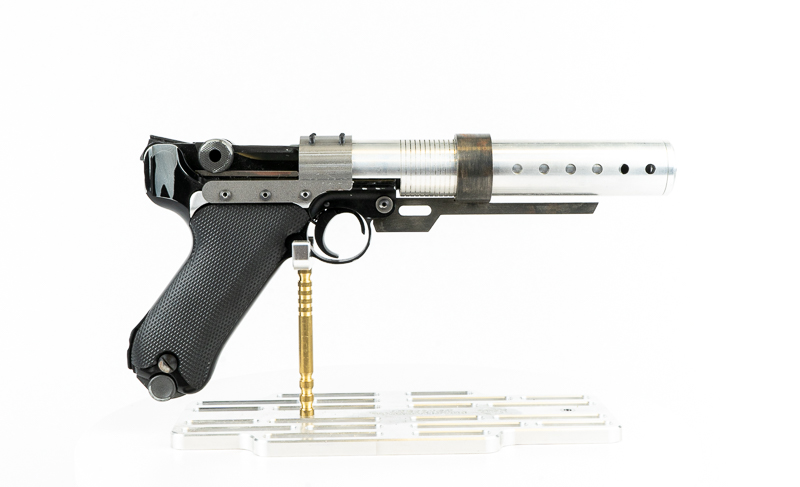
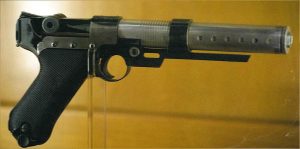
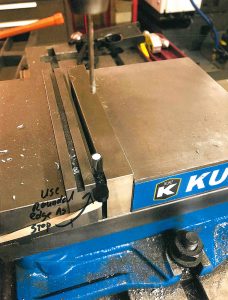
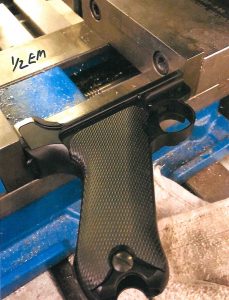
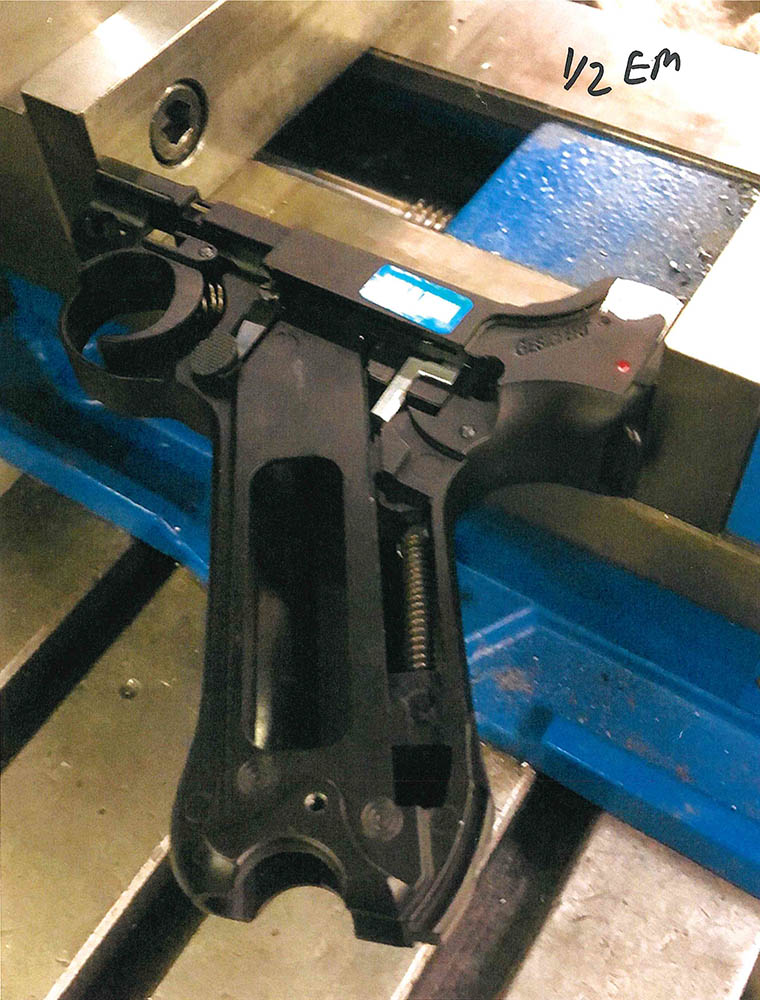
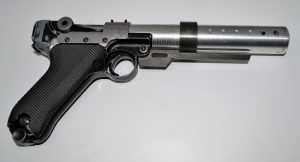
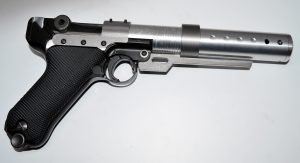
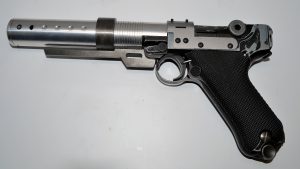
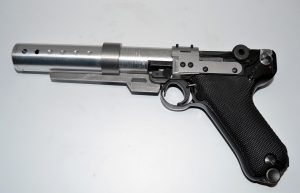
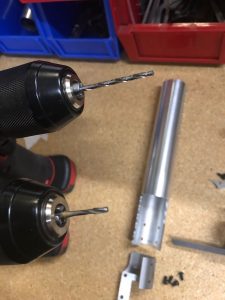
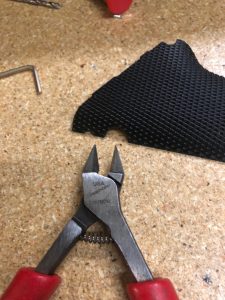
 Here is all three ,, the kit, the basic and the full weathered https://www.ebay.com/itm/283268561268 https://www.ebay.com/itm/123500966570 https://www.ebay.com/itm/283268567611 A little machine time to prep the parts for the build…. i do this with a 1/2 end mill and cut it down flush Next your need to grind down the toggle to make room for the tube… ]
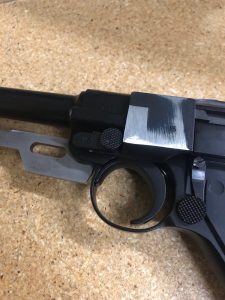
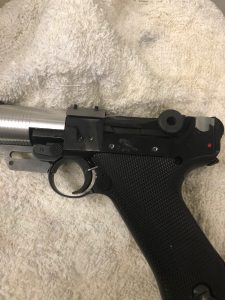
 The safety has to be ground doen like so ,,,, make clearance for the blade under the barrel adn lock it in place…. the AW custom erso blaster got this so freaking WRONG !!!!! sorry if you bought one there is nothing correct !!!!! The side plate has to be ground down almost flush leave a little or it will break through!!!!!!!!!
 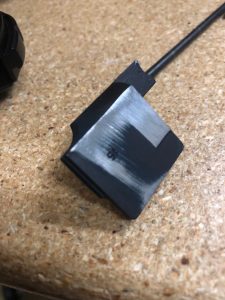 Tap the end of the release m3 tap with a #40 drill .098 ( i use # 32 drill bit .104 it give a little relief on the tap , no use breaking a tap it will be super strong any) i do sell these opon request they should be on the ebay site
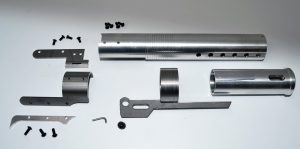
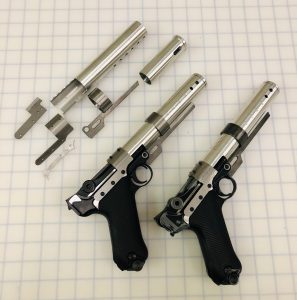
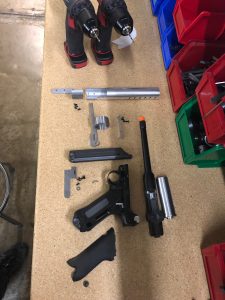
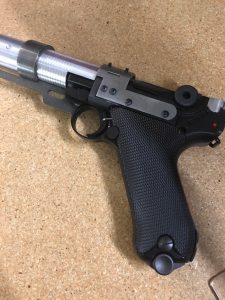
 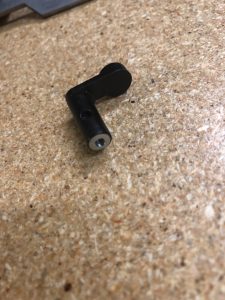 Here is a full parts lay out of the kit with a prep WE 6 barrel Luger
  NEXT You will need the #32 drill bit and a M3 tap
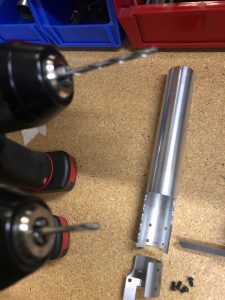

 M3 Button head steel screws and 5/32 allen wrench
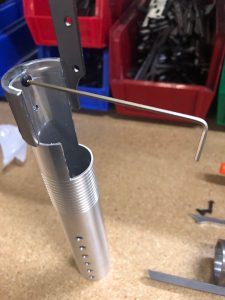
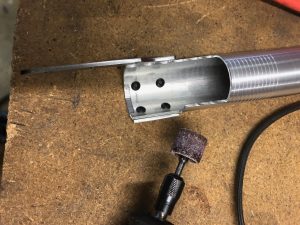
 Gotta gring the head off so they lay flat over the toggle on the luger. I use a sandin drum, it make short work of this
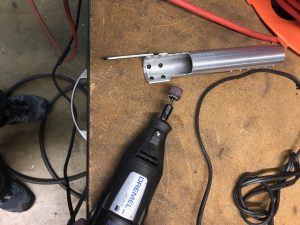

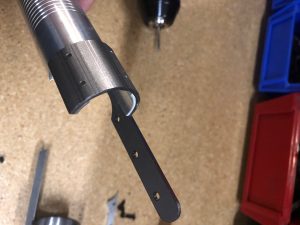
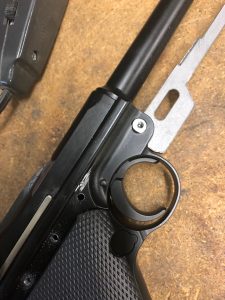
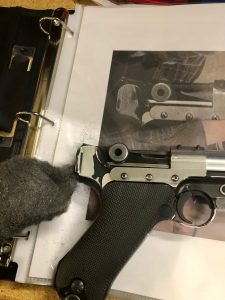
 Now make sure this i inline with the side of the body Clamp in a vise and use a screwdriver to bend a little if needed
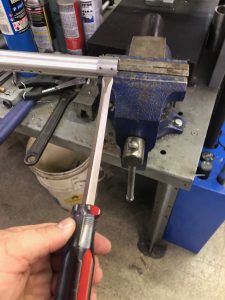
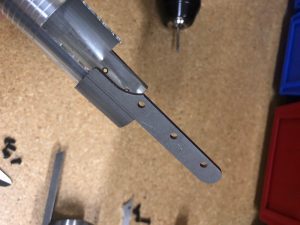
 this gap i what your looking for to line up
 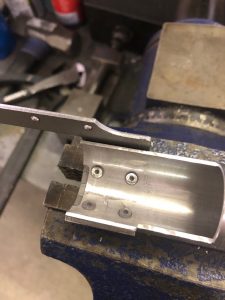 The side spacer need a little forming too
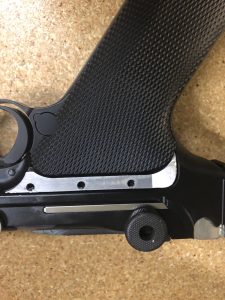
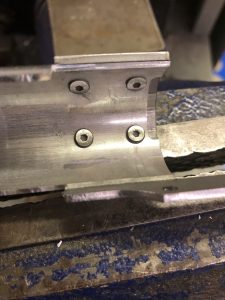
 I MG_6980 gottta cut this little scre that stick out so the spacer sit flat
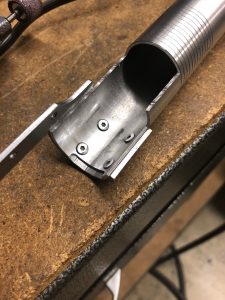
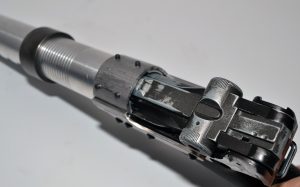
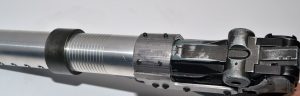
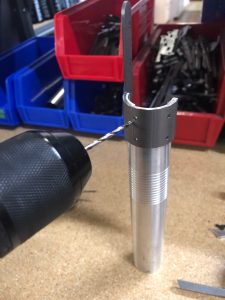
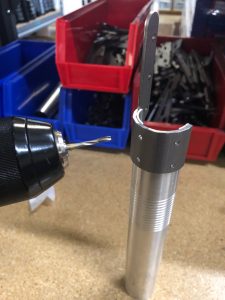
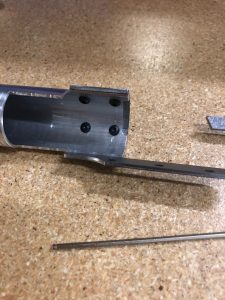
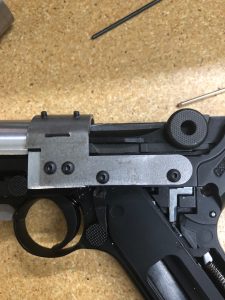
I use a drill starter to mark my drill tapped holes…. Make double damn sure the barrel line up on these or your screwed !!! 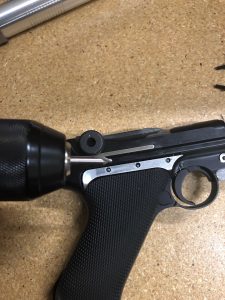 Now drill these with the #32 drill bit and tap with the m3 and put the main barrel over it all and screw t down with 3 M3 x8 button head steel screws
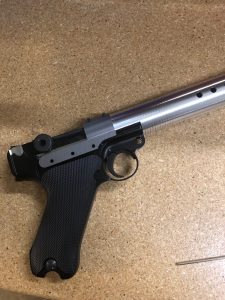
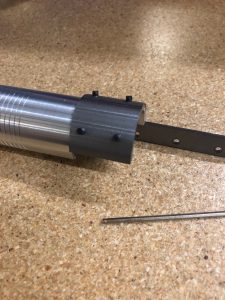
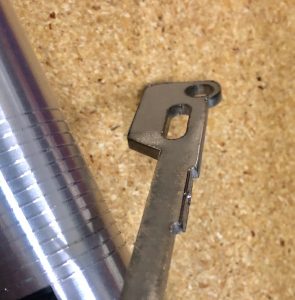
 Blade time ,,,, notice it has a small dove tail for keeping the ring attacked,,, i suggust epoxy when everything is weathered and completed
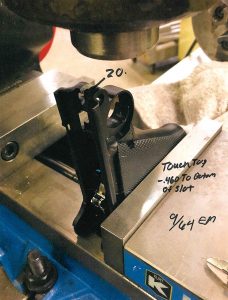
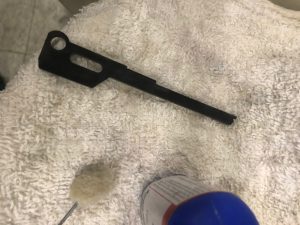
 1/4 slot must be machined into the trigger frame for the blade install…
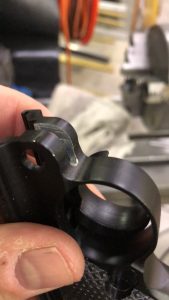
 Slide the blade into the slot you cut in the center on the release Replace the latch and side plate.
 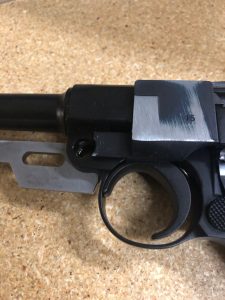 M3 screw and the small washer to hold it in place
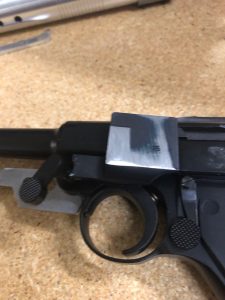
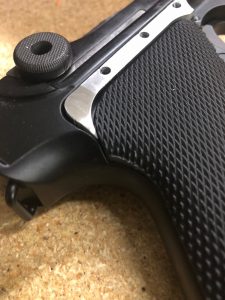
 Left side plate uses the 4 M3 x 6 button heads… line this plate up and drill and tap them in place… Make sure not to drill to deep into the airsort gun. I do one at a time and put the screw in as i go so i dont have a alignment issue….
 Trigger GREEBLIE ,,, very often missed in this build…. small steel bent wire and hole LOL
 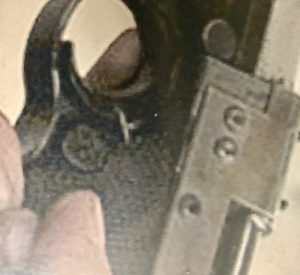 I use a .073 drill bit to make the hole from the bend wire… Notice the spot in the blade i do this with a drill starter while i m doing the trigger…
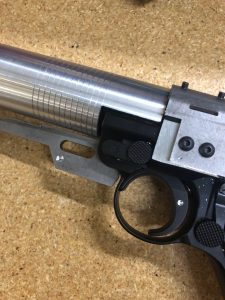
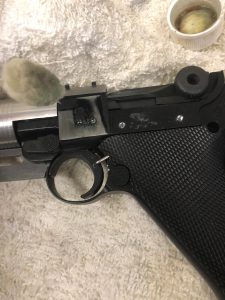
 make sure it at the proper angle and is not to long…. if you get it to long iot will hit the mag release spring and the button will fall out… yours should look like this. Now cut a small notch in the grip panel to hold the wire at the angle
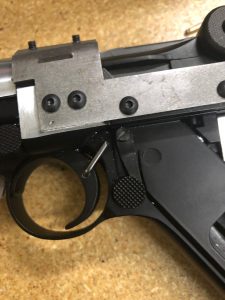
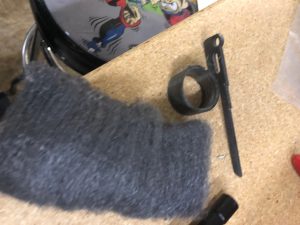
 Time to blue and weather…. you will need a bluing kit and these parts
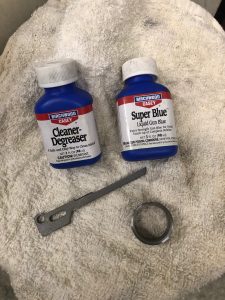
 Bluing takes a little time,,,, make sure you use the degreaser and rinse the parts off before bluing…. then i run hot water over the parts then blue it several times rinse betwen coats…. when you get them blked out rub them and bluff with the steel wool ,….. its that easy !!!!
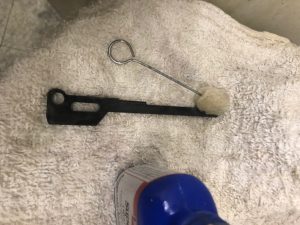


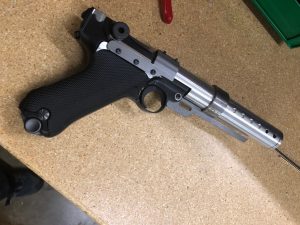
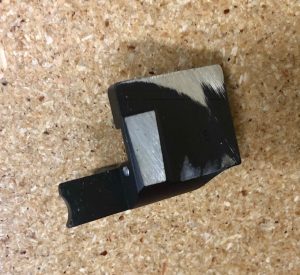
 Weathering you will need scotch brite and steel wool….. I cheat because i have a scotch brite wheel for polishing …
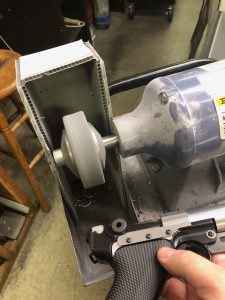 I knock the main painted areas down then you HAVE TO USE STEEL WOOL !!!!! Elbow grease and rub the rest to you personal taste or screen accurate look…. The steel wool will give the under metal and grey tint which is exactly like the screen used blaster is !!!!! Good luck
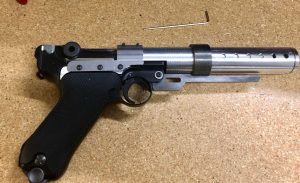
 I would suggest using the scotch brite to scar up the aluminum barrel in vertical motions …. a little alum blk and this will give it the worn look ????